Today I have a tutorial for you that I am uber excited about! I was on a hunt for something in the studio last week ( I can’t even remember what now), when I came across an old bin of fabric scraps. I was getting ready to toss them because they have been there for so long I forgot that I even had them. However, I loved the pretty textures and designs and could not do the deed. Naturally, this meant I had to stop everything because the challenge was on to create something! I sat down at my studio table and made a beautiful journal using those otherwise discarded pieces of scrap fabric.
This year I have been gardening again, and even restarted my garden pond that has been sitting filled with bags of sand waiting for the girls to be old enough to enjoy it. They have been helping me weed and plant in the flower beds, and feed the fish and clean the pond. I thought it would be nice to have a little journal of some of the things I have been growing, and a place for pics of the girls helping. So, when I started this book using it as a “garden book” was in the back of my mind.
 I loved it so much I thought I would share the tutorial with you guys. Here is what you will need: a spiral bound journal with chipboard covers (I used Prima Finnabair Mixed Media Journal), gesso, white acrylic craft paint, soft gel medium (Mod Podge would work), paint brush, scraps of your favorite fabric and lace, scraps of scrapbook paper (I used Graphic 45 Botanical Tea), flowers, and resins (optional). Let’s get started!
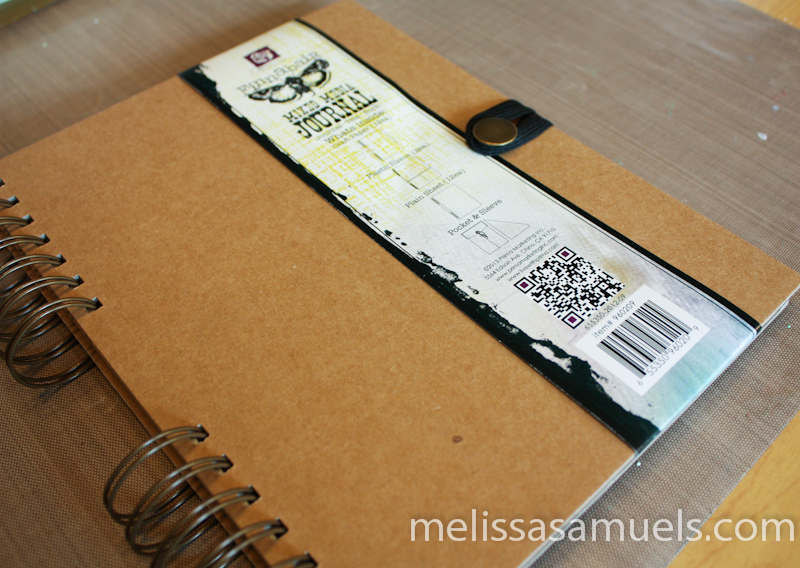 I am using the Prima Finnabair Sunrise Sunset Spiral Bound Mixed Media Journal. It measures 7.5″ x 9.5″ (the perfect size) and includes cardstock, craft paper, photo sleeves, and pockets. Love it!!
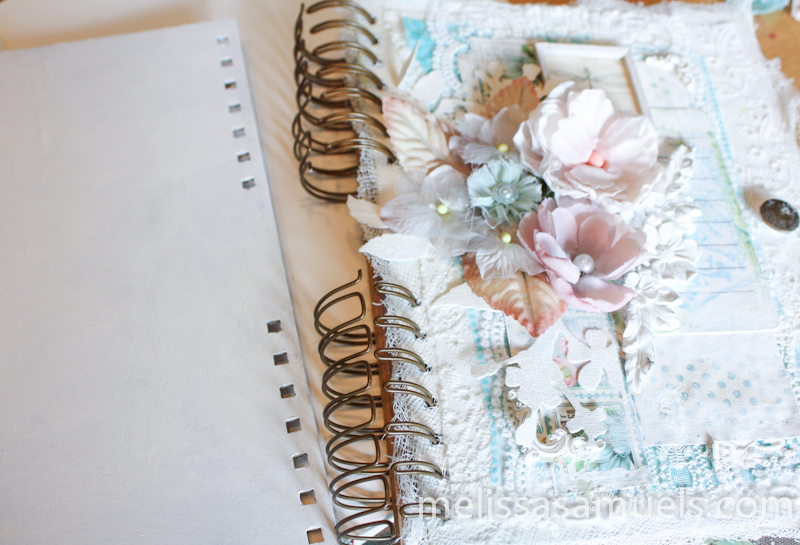
 Start by opening your book up to the inside of the back cover. This is where the spiral binding comes together. When working with a spiral bound book remember the seam binding is always hidden in the back cover.
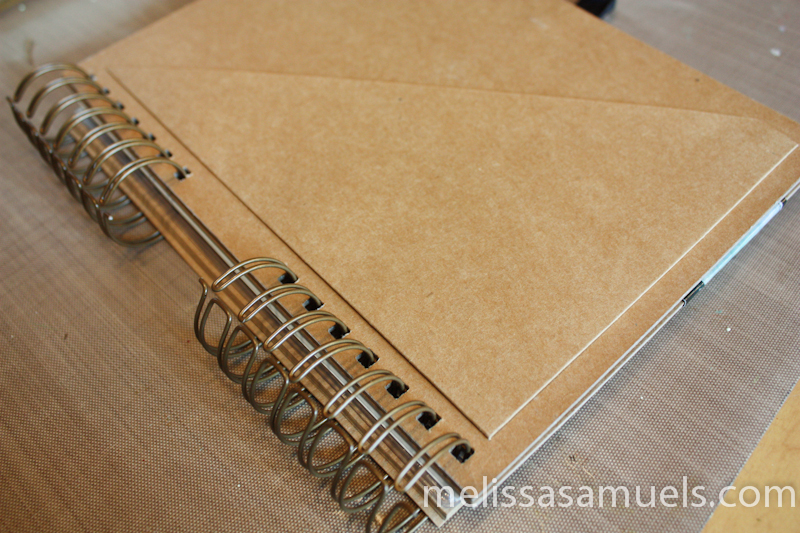
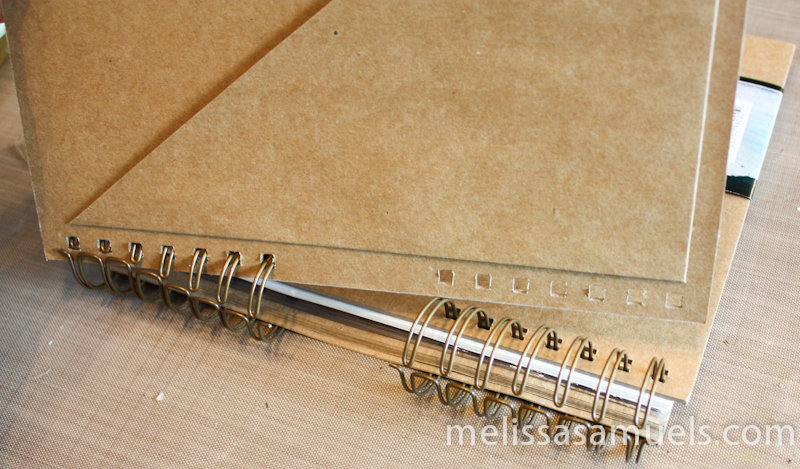 If you have ever used the Zutter to bind books, it is the same concept for taking the covers off and later putting them back together after decorating. Just slightly loosen the spiral binding (just enough to get the covers off). Take the back cover off, then the front. Remember when you reassemble the back of the back cover faces/touches the front of the front cover. Then insert the wire through the back of the front cover (the reverse of taking it off).
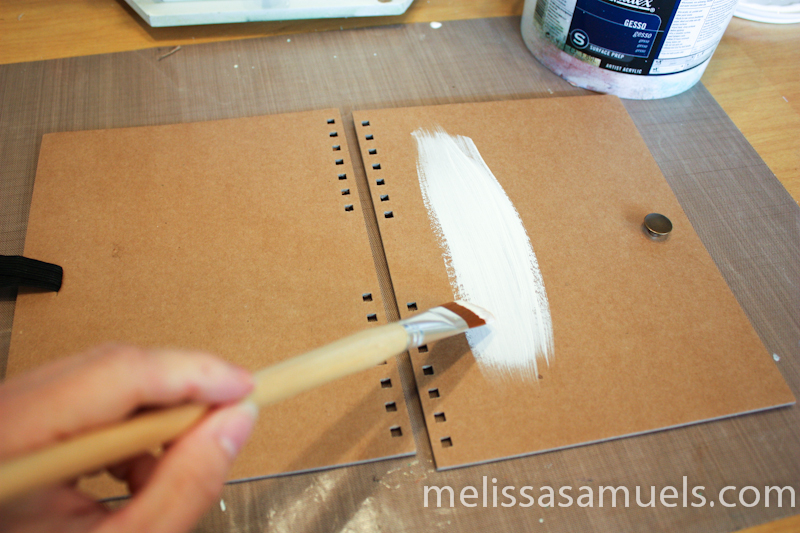 Now your covers are ready for decorating. Start by gessoing (or priming) the covers. This may take a couple of coats. Use a heat gun or hair dryer to speed things along between coats. If you would like, you can add a layer of acrylic paint, but because I want my cover white anyway, and much of it will be covered with fabric, I just used gesso. If you do not have gesso, use white acrylic paint. It will just take more coats to cover the chipboard.
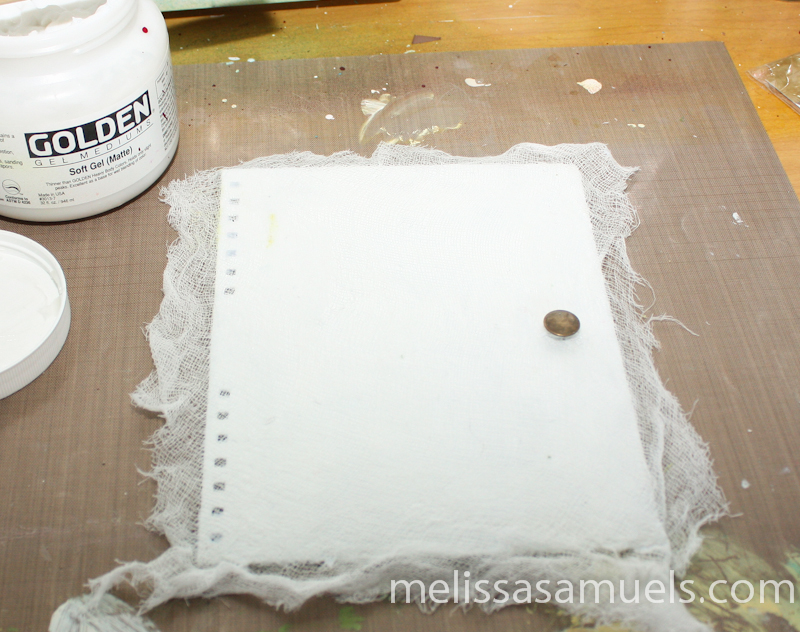 Apply a generous layer of gel medium over the front cover making sure the entire page is covered, and add a layer of fabric. (When working with gel medium and a large surface area, make sure you get your fabric down before the gel medium dries or you may have bubbles). I used thin muslin as my first layer because I love the texture, and it will make cutting out the holes for the binding wire easier when it dries. You could also use cheesecloth. I stretched it out, then placed it over the cover coated in gel medium.
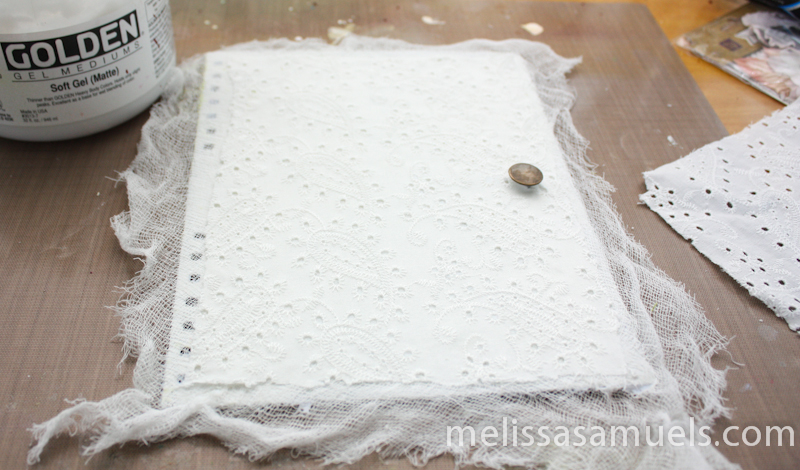 Apply gel medium to the back of your next layer of fabric, and glue into place taking care not to cover the binding holes. I used a pretty eyelet fabric. If needed, use a bone folder or popsicle stick to smooth out the fabric.
 Add another layer of fabric. I used cotton scraps.
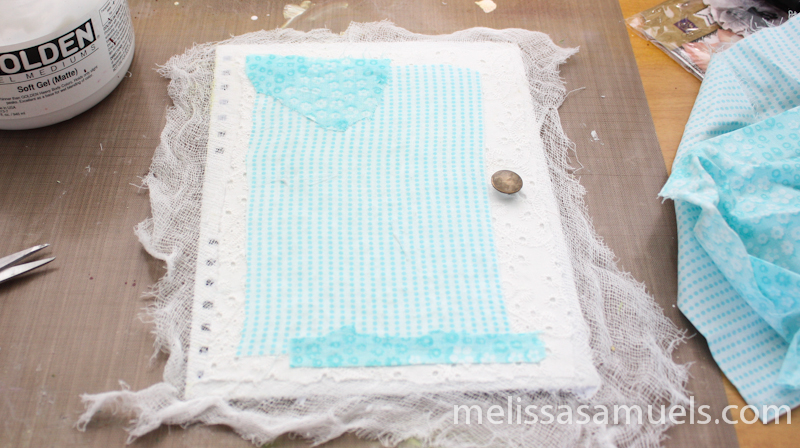
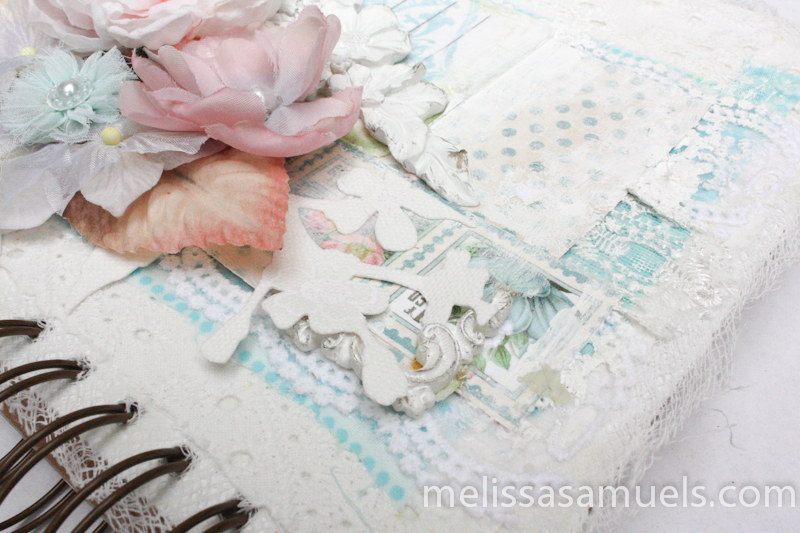
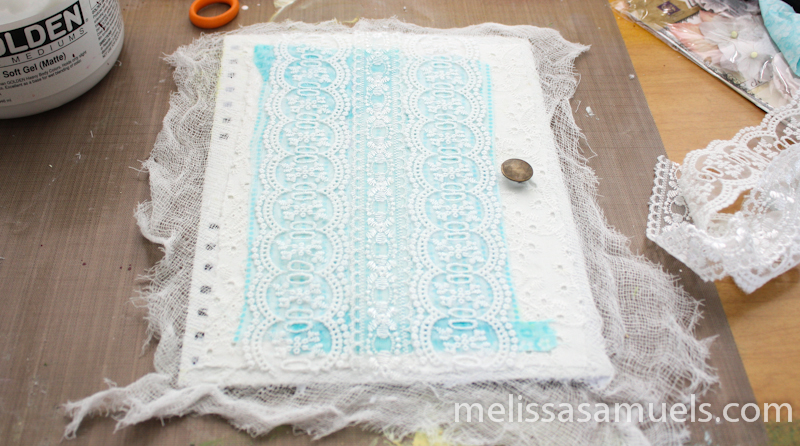 Using gel medium, apply pretty pieces of lace. The lace allows the previous layer to show through creating lots of gorgeous layers.
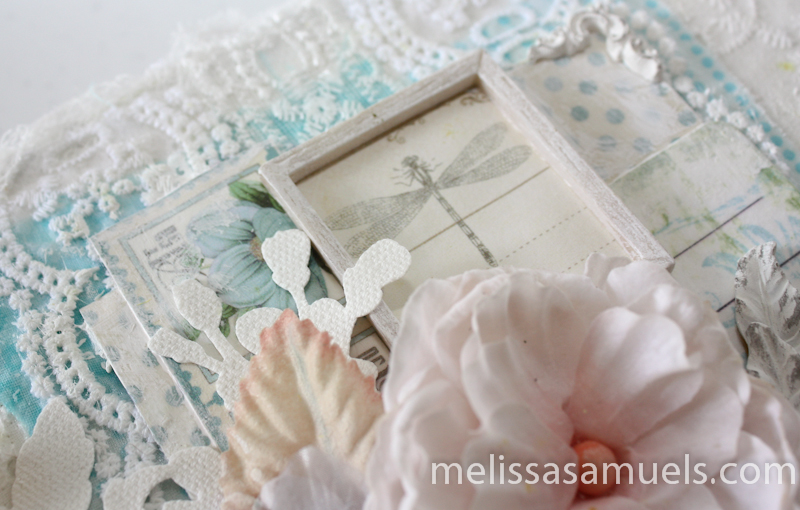
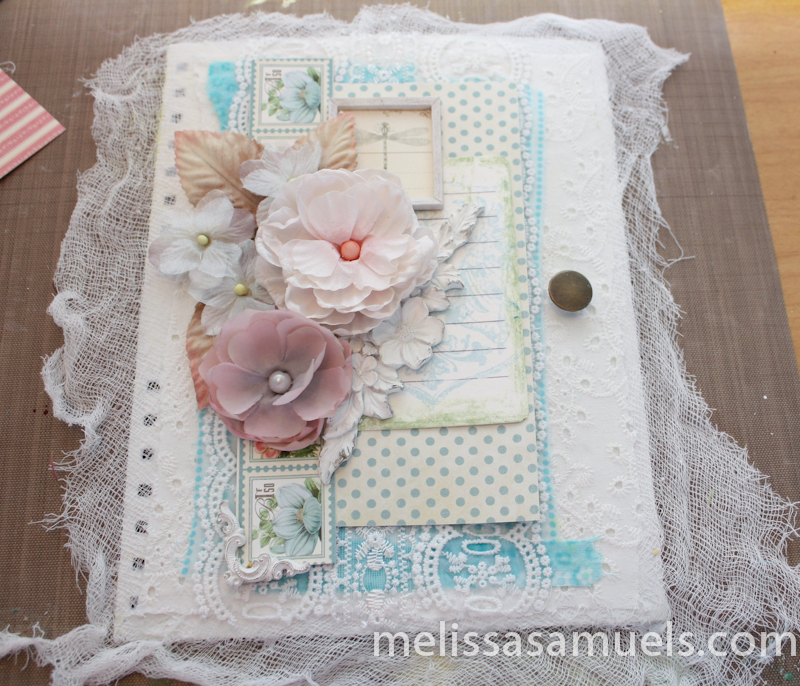 Lay out your design using scrap papers, flowers, resins, whatever strikes you. Once you like the design apply each piece with gel medium. I started with a base layer of paper. I applied a layer of gel medium over the top of the paper, as well as the bottom to create a nice seal. I used Glossy Accents to glue down the larger flowers.
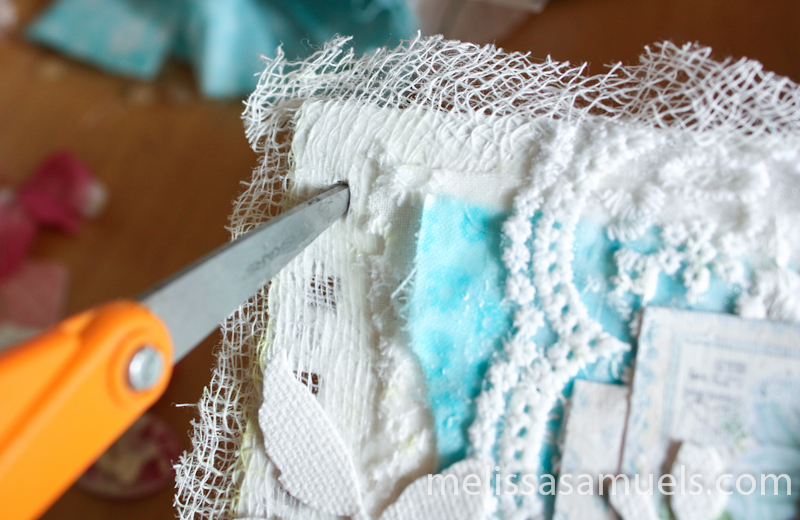 Once it is completely dried, cut out the wire binding holes with a pair a sharp pointed scissors. Trim up the fabric edges. I left about a 1/2″ or so border around the book for texture.
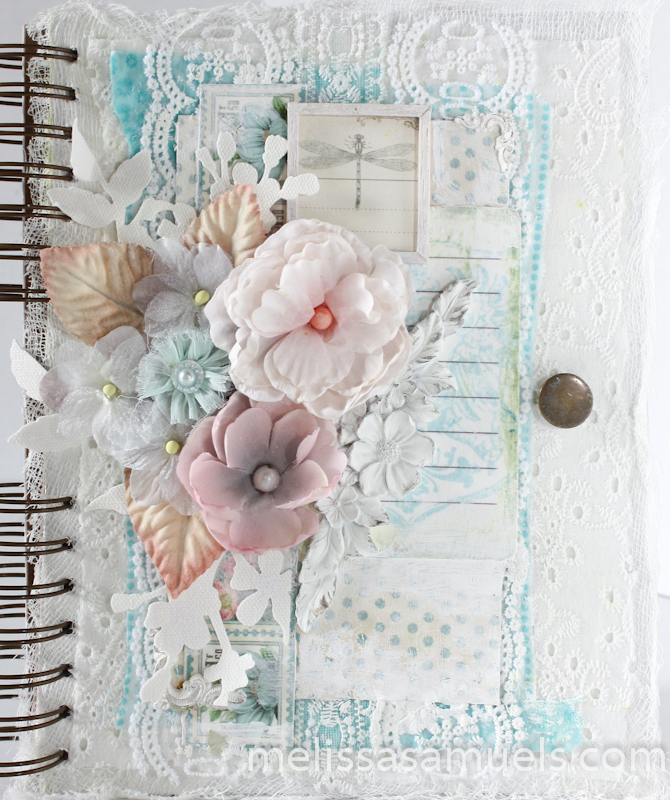
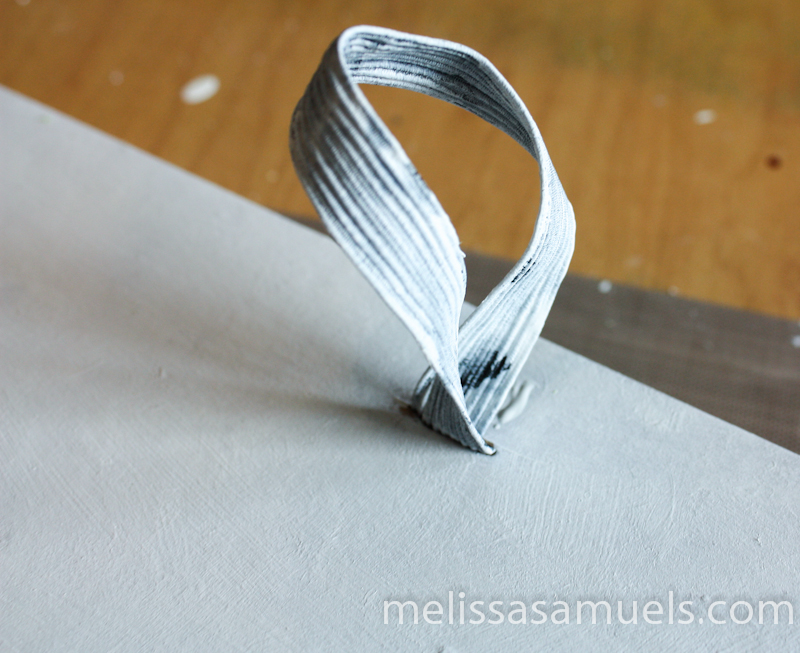 I did not like the contrasting black closure so I painted it white with gesso.
 Smear a little white acrylic paint around the edges of the paper to soften it just a bit. Put the book back together by adding the front cover first, then the back cover with the outside of the cover facing the front of the front cover.
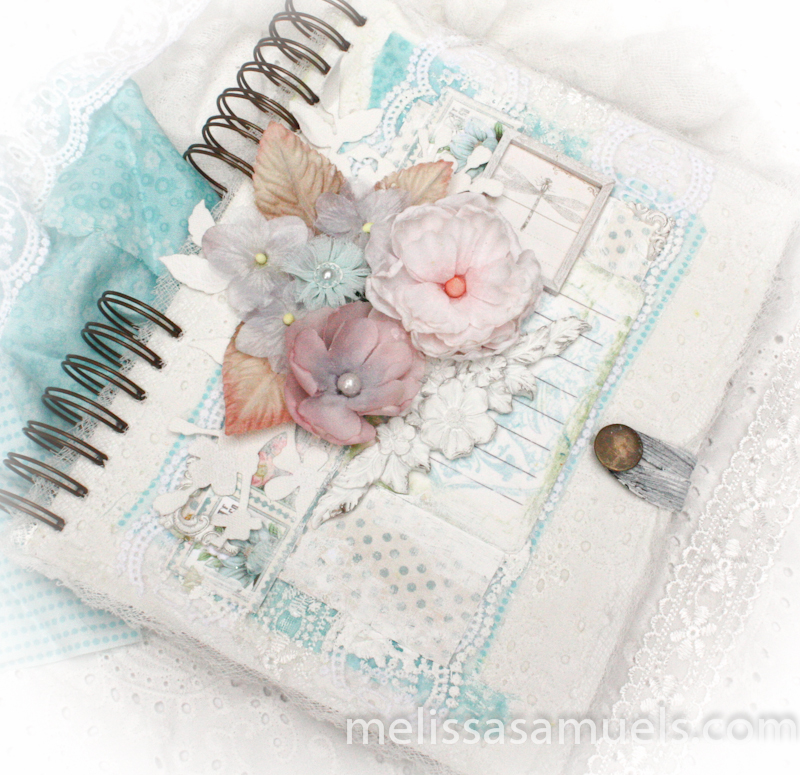
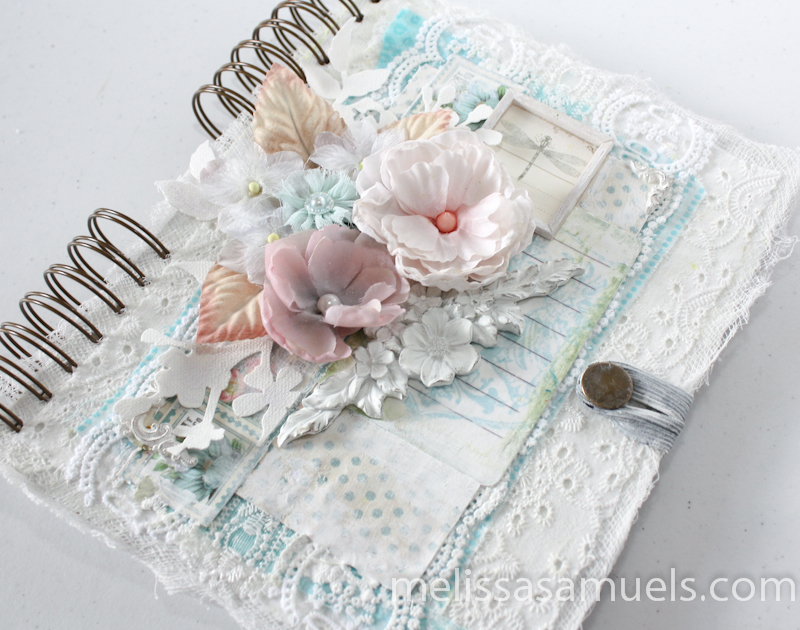 Done! I love the beautiful fabric layers, and soft colors!! It was incredibly easy to make, but has wonderful visual impact.


 I hope you enjoyed my tutorial. The next time you are cleaning out your fabric bins maybe you will think twice about those little scrap pieces that were headed to the trash.
Don’t forget to subscribe to my blog by scrolling to the bottom of the page, entering your email address, and clicking “subscribe.”


Simply gorgeous Melissa!! Thanks for tutorial!
Thanks so much, Kip! I’m glad you like it, and enjoyed the tutorial. I have to admit, it might be one of my favorite books.
Another fantastic piece of art, Melissa!
Thank you for the lovely compliment, Anne! I LOVED creating it, and it thrills me to see people enjoying taking a peek at it. xx