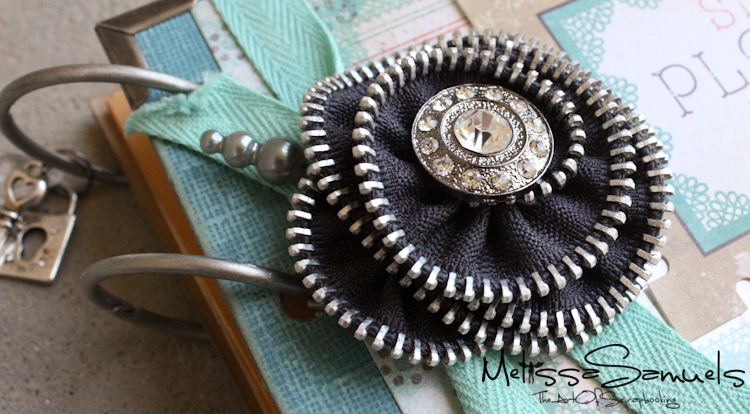
It's Thursday, that means tutorial time!! Today I'm going to show you how to make those cute little zipper trim flowers you've been seeing everywhere.
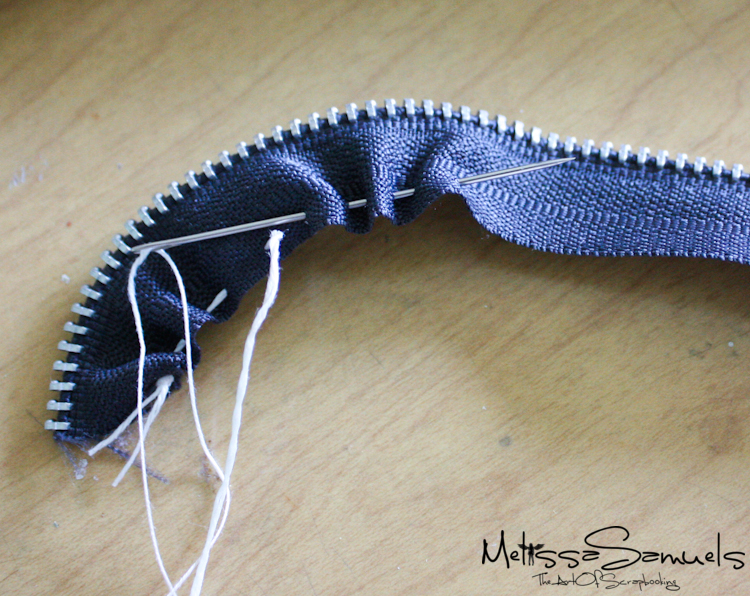
 Start by threading a large needle. I used book binding thread, but any thick thread will do (ie upholstery thread). You'll need about 24" of zipper ribbon trim.
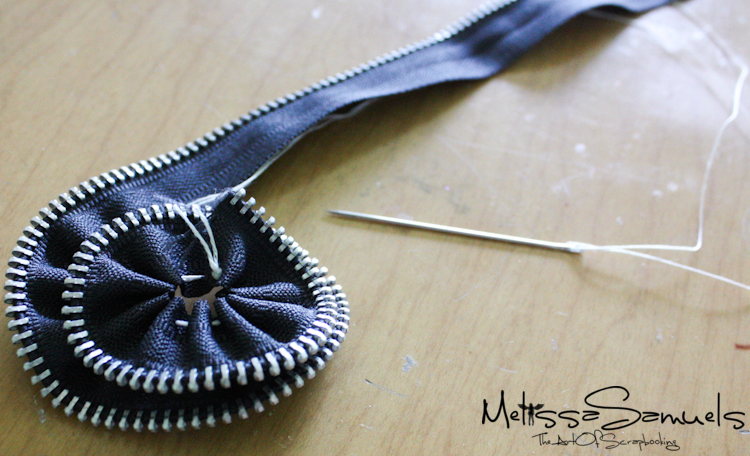
 Make a running stitch along the trim edge of the ribbon. It will naturally want to spiral up, that's what you want! Once you've stitched the entire length of trim, adjust the tension of the thread to get the perfect looking spiraled flower.
 Once you are happy with it, flip it over and run several stitches in the back side of the flower to hold all of the layers together. If you need a little Scor-tape or Fabri-Tac to hold some of the layers together, that's not a problem. Then thread the needle up the center of the flower to sew the button on. Done!
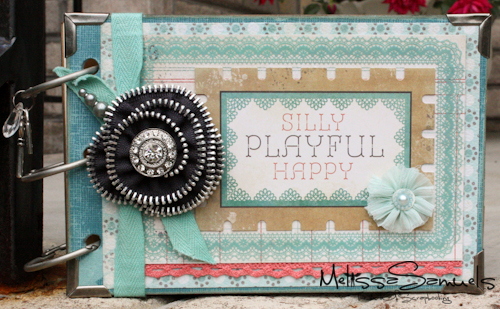
 These little flowers are perfect for mini albums, layouts, and even cards!


Oh how pretty, thanks for sharing.
I can already see how this would be a ‘class-act’ for scrapbooking, but what about a denim jacket or an old suit coat with bling all over it??? Thanks for the super idea, and I’ve got a ton of old zippers to cut apart and use!! YAY!!!
Melissa…thank you for this!! These are awesome and would look so cute on a fabric headband…or even a bohemian wrist cuff or a cute purse/bag pin. Always giving us inspiration!!
Hugs
Nice article. I will keep visiting this blog very often.
Nice article. I will keep visiting this blog very often.
Great job! really feed my mind thanks for the tutorial im gonna make this on weekend together with my auntie. 😉
Nice! Such an easy way to make a cool stamp! I like to “seal” envelopes with a stamp by putting it on the back of the stamp where the envelope closes. It’s just such simple thing that adds a nice touch. Thanks for sharing! Love that button stamp
This is the most beautiful Zipper flower I have seen to date. I must admit I am a flower nut, especially fabric flowers, but I haven’t actually like the Zipper flower because it is messy and “hard” looking. Your flower is beautiful. Thanks for the tutorial.