It's tutorial time!! Today we're making super simple paper rosette embellishments. I've made these lots by eyeballing them, but now Sizzix has a Sizzlits Decorative Strip die (657177) by Tim Holtz just for making these little guys. I'll give you the step by step, and show you a card I made using them.
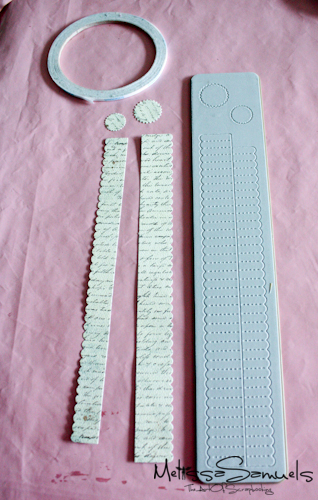
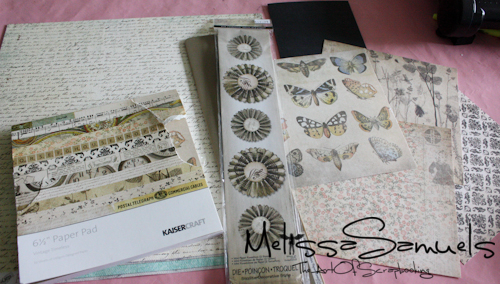 I'm starting with the Sizzix Mini Paper Rosettes die that cuts 2 sizes of rosettes, a 12×12 sheet of paper from the MME Stella Rose Hazel pack (for cutting the rosettes), and a pad of KaiserCraft 6 1/2" Vintage Timeless (for making a card with the rosettes).
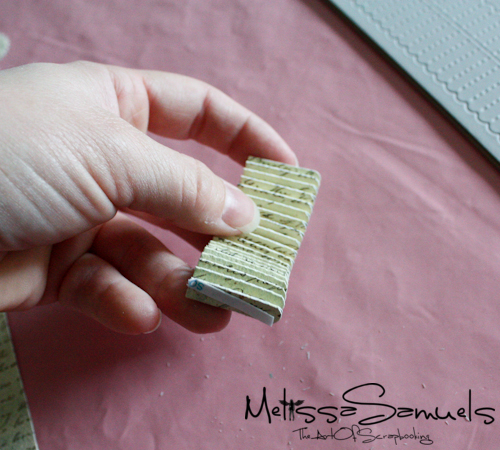 Accordion fold the paper along the perforations.
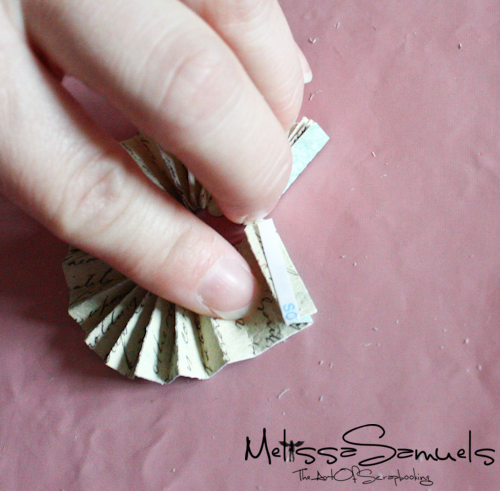 Apply Scor-tape (1/8") to one end of the paper, fold around in a circle, and tape the two ends together.
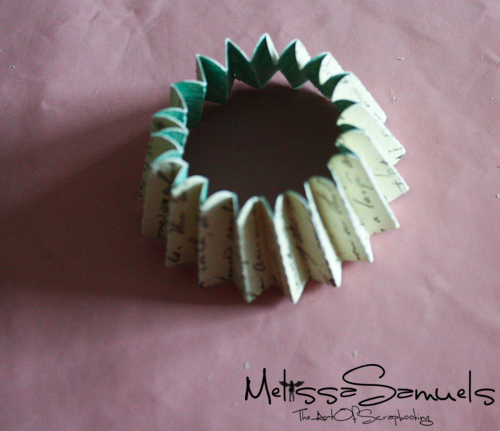 Once it's taped, it will look like this.
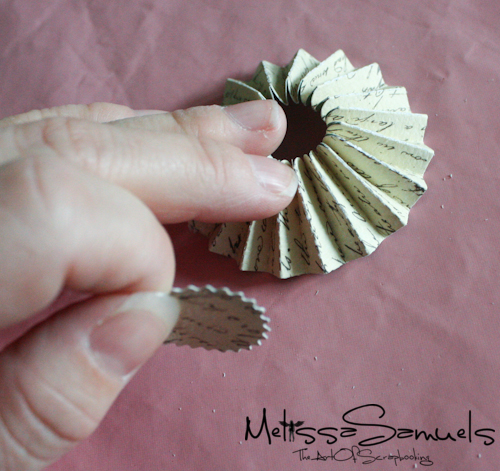 Squish down the center by pushing the top edge of the paper to the center. Tape the little circle diecut that was cut from the die in the center.
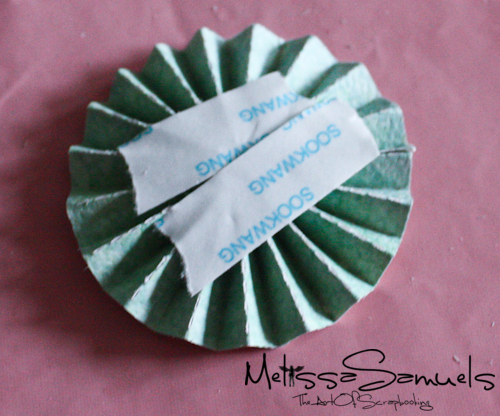 To help hold it all together, I apply more Scor-tape to the back. If you want to jazz it up do that before removing the tape backing.
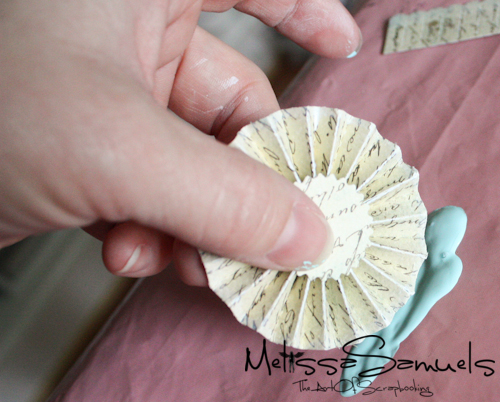 Just to make it super awesome, roll the edge in acrylic paint. If you don't mind getting messy, dab with your finger.
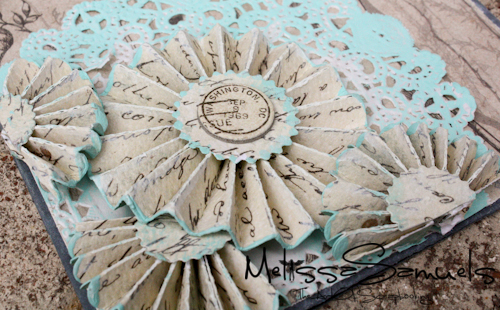
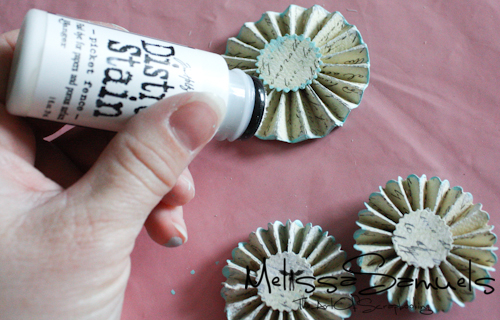 Apply some Distress Stain Picket Fence to the the creases to really make it look shabby. Done!
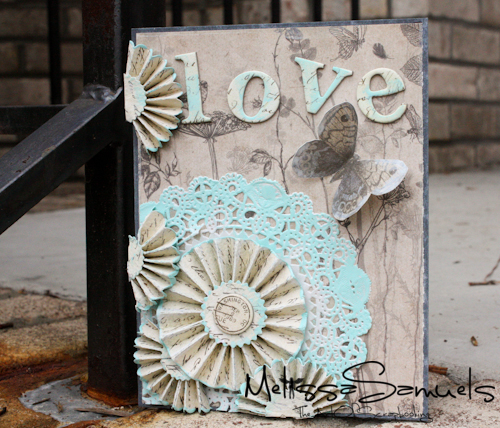 I placed the bigger rosette in the center of a doily, and cut the smaller ones in half for my card.
 The butterfly is cut from the KaiserCraft paper pad Vintage Timeless, and the chipboard alphas are from BoBunny Et Cetera smudged with a little acrylic paint.
I hope you enjoyed, any you take time for yourself today to create!



OK… that’s another TH die that I now need!! Beautiful card, love the colour scheme.
Love the distress on the edges and the stain on the ridges..beautifully shabby!
I love how you distressed the rosettes-easy techniques but the effect is striking.
I am so glad you posted this Using the die looks much easier than using a scoring board! Plus, your card is lovely as usual.
This is beautiful, Melissa! That’s a cool die and I love how you roll the rosette through the paint! I need to buy the picket fence stain next too:) What a beautiful effect! That inspired me the most 😀
~Vanessa W
I found a good way to hold the rosette in a circle was to lay it in a jar lid to hold it. The small one fit into a spice jar lid, and the larger in a larger spice lid…when the holding circle is added with glue or hot glue it keeps a perfect rosette. It can be lifted out with a tweezers. Works for me.