Here's a super easy and quick way to make a tag using Distress Stains. You'll need stamps (I'm using Stamper's Anonymous Tim Holtz CMS085 and Prima Paintable Doilie Stamp), permanent ink such as Stazon or Archival, Ranger Craft Tags, Distress Stains, and Stickles (optional).
") Stamp image onto tag. Use a permanent ink to prevent bleeding when stains are applied.
Stamp image onto tag. Use a permanent ink to prevent bleeding when stains are applied.
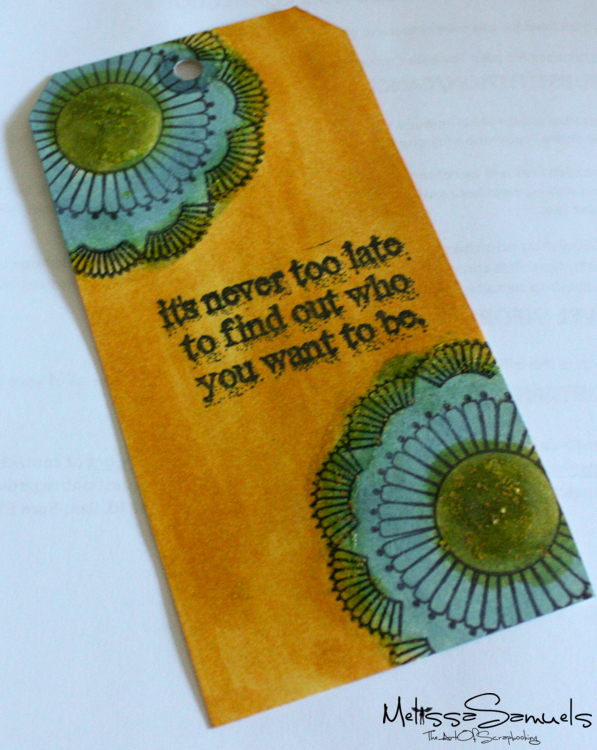
-2") I added Wild Honey Distress Stain to the main part of the tag, and Broken China on the flower, leaving the flower center blank. The Distress Stains have a wonderful dabber top that easily dispenses the stain. The flow is controlled by gently squeezing the bottle. I was messy applying mine, because I like that handmade look. You could be neater, because you have a lot of control over the top.
I added Wild Honey Distress Stain to the main part of the tag, and Broken China on the flower, leaving the flower center blank. The Distress Stains have a wonderful dabber top that easily dispenses the stain. The flow is controlled by gently squeezing the bottle. I was messy applying mine, because I like that handmade look. You could be neater, because you have a lot of control over the top.
-3") Fill in the flower center with Peeled Paint Distress Stain. I love the soft watercolor effect.
Fill in the flower center with Peeled Paint Distress Stain. I love the soft watercolor effect.
-4") Paint Stickles on with a paintbrush to add a little extra pizazz! It dries much quicker by painting them.
Paint Stickles on with a paintbrush to add a little extra pizazz! It dries much quicker by painting them.
-6") It doesn't get much easier and faster than that!
It doesn't get much easier and faster than that!


Great tag, Melissa! I love my distress stains!!!
~Vanessa W
Love the use of the stains Melissa