One of my New Year’s resolutions last year was to create more projects for myself. Whether mini books, art journaling, cards, etc. just anything that made me happy. Any project that I could look forward to working on with no deadlines or specific requirements. So, I had a fantastic idea of creating a “yearbook” so to speak of my girls, Maddie and Lily. I thought it would be fun to make a book that chronicled their growth over the course of a year. I had this idea of taking a Graphic 45 easel book and turning it into a mini album rattling around in my head for months. This seemed like the perfect project to test out my idea. Here is the finished product of the book itself.
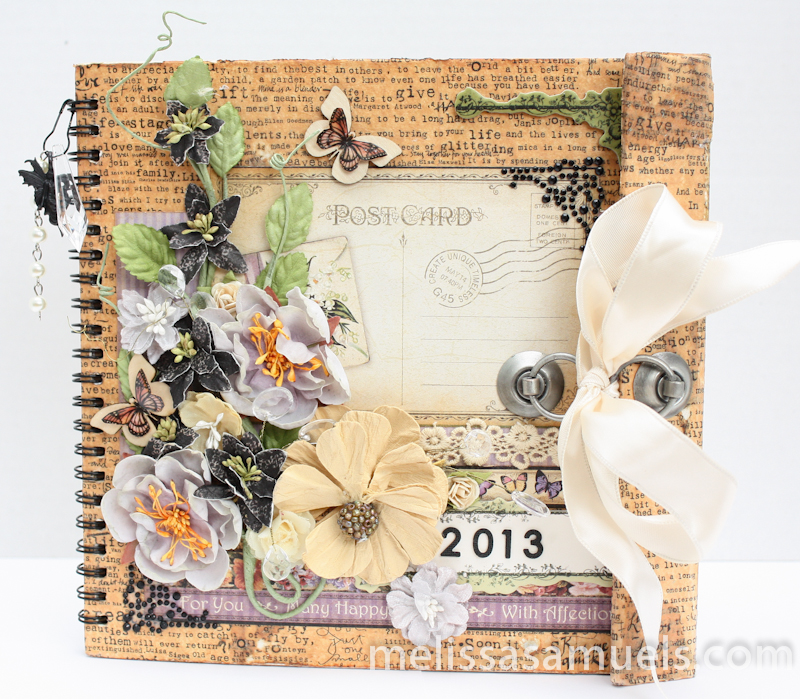 It was actually easier than I thought. I just cut the bottom front side of the 8×8 easel book to create a flap on the right side of the now spiral-bound mini book. I gave the cut edges a very light sanding. I then covered the book in tissue paper using Golden gel medium. I had 2 discontinued (I’ll apologize in advance) 7 Gypsies knocker knobs that I screwed on the flap and front cover creating a closure for a ribbon.
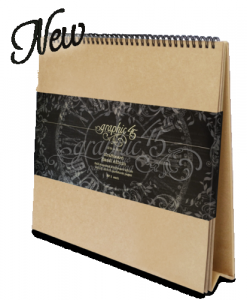 I am used to working with mini books, so I opted for the 8×8 size, but this easel book comes in a 12×12 size also that I think would work nicely. The plus side being you could add more pictures per page, as I found it sometimes difficult to pick only 2 or 3 pics per page in a month. However, I do LOVE the 8×8 size, because it is not big and awkward to handle and store. I guess it is a matter of personal preference.
 Then, it was just go to town decorating. I used Graphic 45 Place In Time papers, lots of Prima flowers, and the large tan beaded flower is BoBunny.
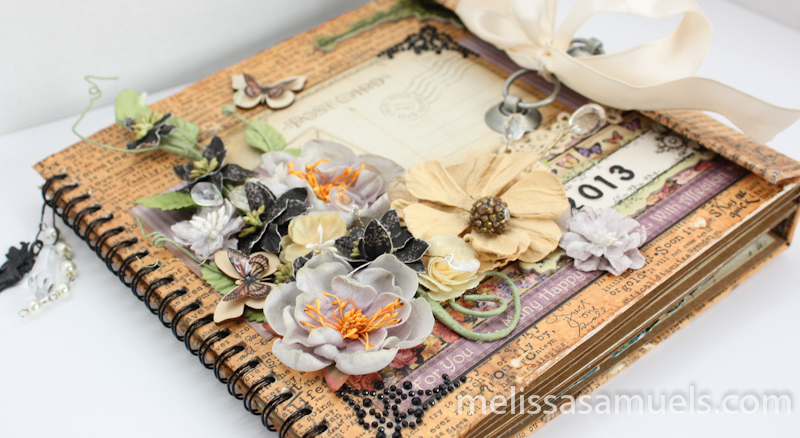
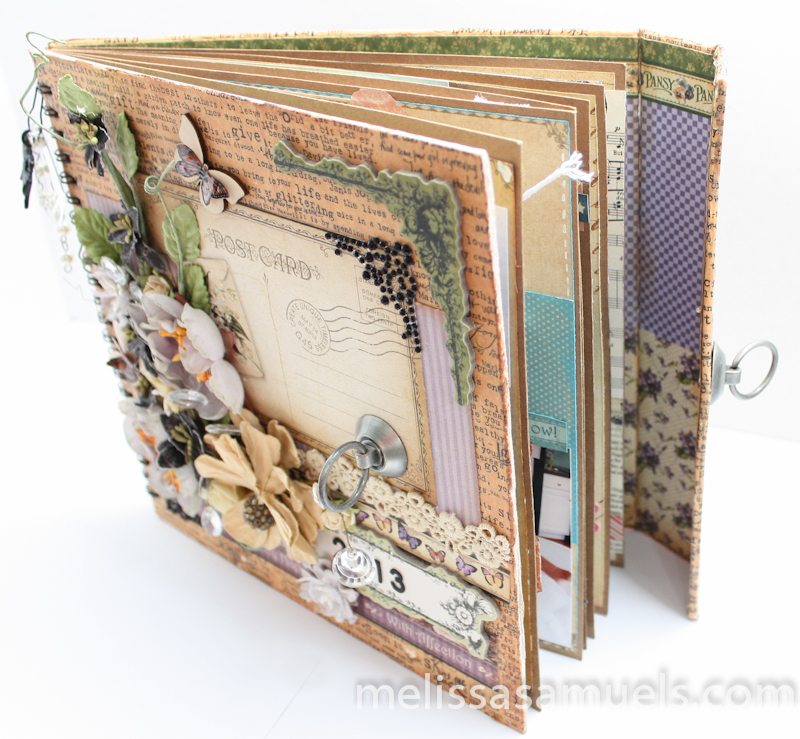 This book turned out to be a bit of a challenge for me because I am used to junking up my pages. Hey, I love dimension. The more flowers, bling, metal, ribbon, pop-dots, chipboard, etc. I can add the better. I firmly believe more is more!! However, with this book I had to be very careful how thick I made it because of the flap. Too thick, and it would not close. If I were using it for a purpose other than an annual book, I probably would have removed 3 pages or so to add more “stuff.” While working on the inner pages I remembered always telling my students, “Go outside of your comfort zone, don’t be afraid to do something different, and challenging yourself is good!” Well, that advice was ringing like a very loud, obnoxious bell in my ear. After a couple of pages I realized the thickness issue, so I had to go back and pull a few pop-dots off pages. I got creative by doing things like pulling the chipboard off of chipboard pieces and just using the images, and pulling flowers apart so they would lay flatter. Did you know most Prima flowers have centers and 3 layers!? This could be a budget saving idea. Yes, it was interesting. All and all and I am thrilled with the outcome, and it was fun to push myself outside of my comfort zone. I hope you like it, too!
Tomorrow I will show you the month of January! So, ya’ll come back now, ya hear!


You finally finished it! I remember when you first decided to do this! As always it is stunning my friend! xo
Finally! Glad you like it. It was fun geeking out over what I wanted to do. Thanks for humoring me!! xx
Beautiful!
Thank you!
It’s gorgeous, Melissa, but then everything you make is always fabulous! BTW, My daughter is expecting another baby girl this year and they are going to name her Lily
Thanks, Anne! Congratulations on the grandbaby that is on the way! Of course, Lily is the best name ever! Tell your daughter great choice! Do you know that my Lily’s middle name is Ann?
I just love this idea!! I’m looking forward to doing something like this myself!! You do beautiful work!!!
Thanks so much, Susan! I am glad it inspired you.
This is incredible. I had looked at this same easel book and wondered about cutting it as well. I am so glad I found this, because now I am brave enough to do it too. I love how you have decorated it too! Beautiful work. Thanks so much for sharing!
Thanks, Dolly! I am glad you like it, and thrilled that you are ready to give it a try. You’ll love it.