Hi Everyone!!! I cannot believe how long it has been since my last post…my how time flies. I apologize for my absence. I have been spending time with my kiddos, having long walks at the park with my hubby (getting conditioned for an awesome summer hiking adventure), and coming up with ideas for the new year.
This month I have been working on a list of new year resolutions. I had such a wonderful year last year, I wanted to keep the momentum going, and make this year even better! I don’t want to bore you to death, but I thought I would share some of my resolutions. I would love to hear what you guys have resolved to do, and I hope it is going well.
#1. Maintain balance in my life. Sometimes I find it difficult as a working mom to “have it all.” Either I am working, and missing out on school trips, or I am at school having lunch with my babies worrying about the work I should be doing in the office. Then there is the issue of finding quality time with my hubby and friends. Last year I made a concerted effort to balance all of these things. I feel much happier, and closer to balance.
#2. Learn, and push myself outside of my comfort zone!!! As an instructor I am constantly cooking up new ideas in my studio, and learning about new products to add to what I call my treasure chest of techniques. I want this year to be like none other. I want to push myself beyond what I view as limits, and evolve as an artist.
#3. Maintain a healthy lifestyle. As many of you may know, a couple of years ago I had some health issues, which made me take a step back and assess my lifestyle. I lost 55 pounds through diet and exercise. I got a little off track over the holidays, and have been trying to get back to healthy eating.
#4. Try something new. I vowed a few years ago to do something new and exciting every year. I have hiked the craggy cliffs of Maine, camped on a beach, ziplined, rock climbed, and learned so many outdoor skills from my Eagle Scout hubby. I want a new adventure again this year! I don’t know what yet, but I want it to be awesome.
#5. Keep a positive attitude. I believe there is a lot of power in thought. Thinking positive can lead to creativity, success, happiness, inspiration, and the initiative to make great things happen in your life. This sounds simple, but some days it can be difficult.
I hope that wasn’t a snooze-fest, but putting these ideas out there might help me stick to them, and give someone else some goals to set. Or, it might have just been a nice nap for my readers  . Either way it’s a win…you can’t go wrong with a nap.
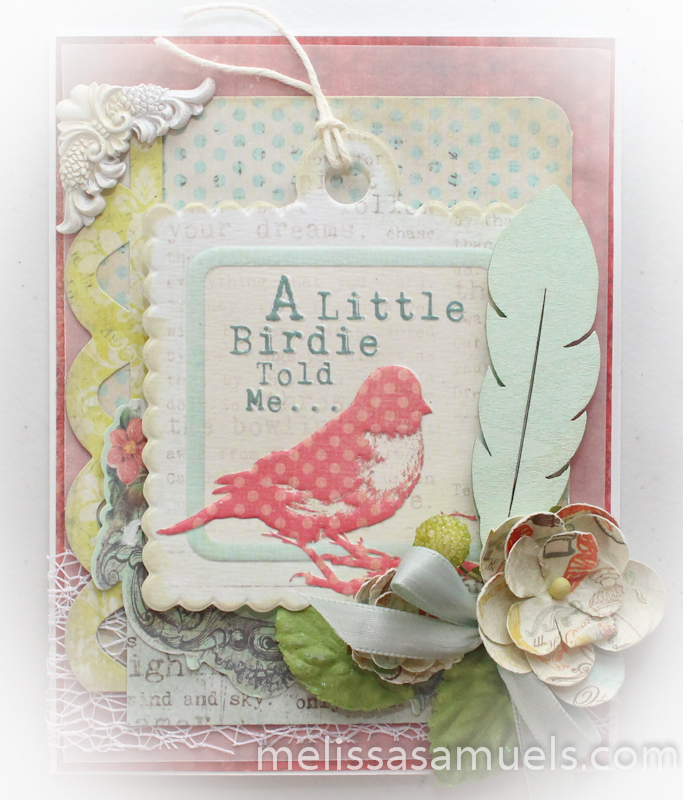
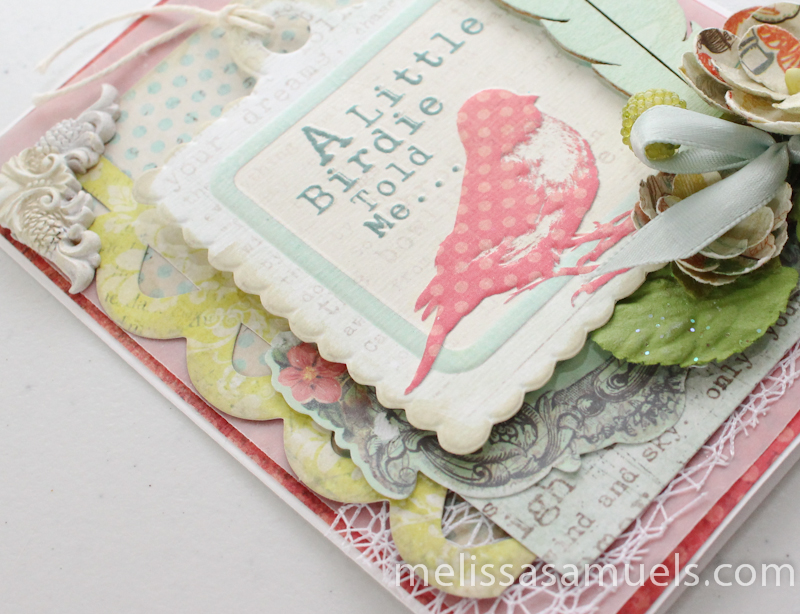
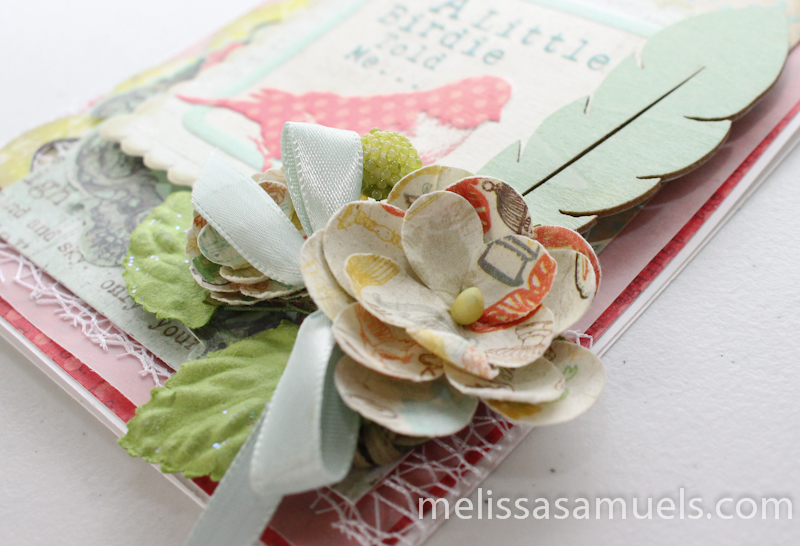
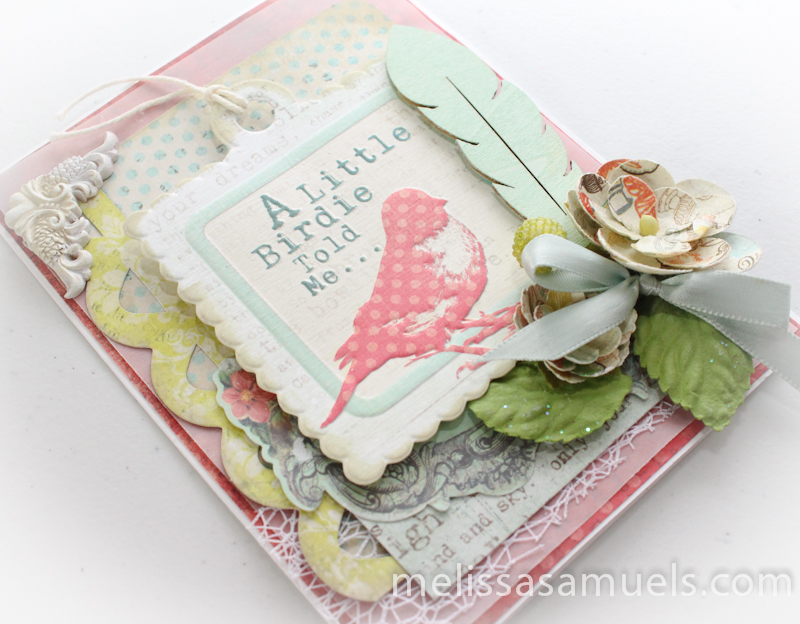
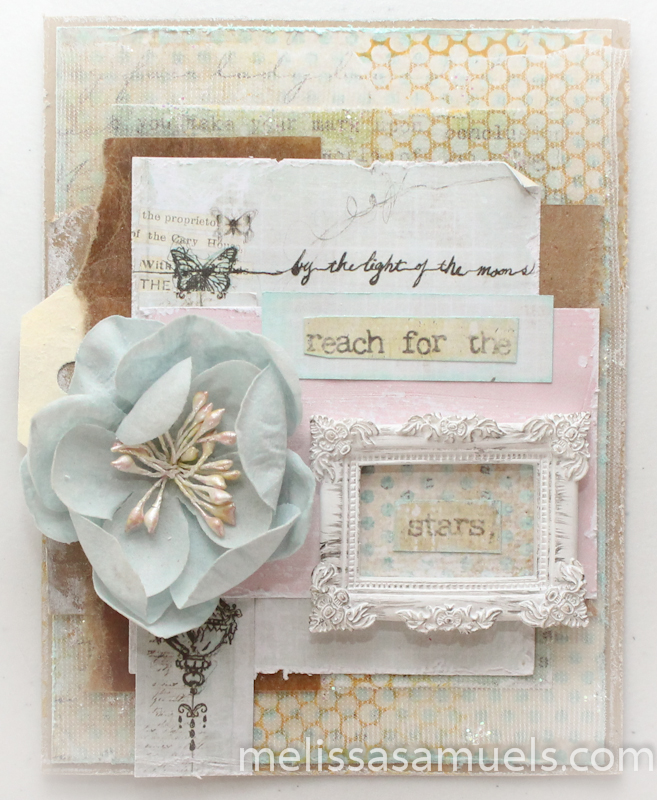
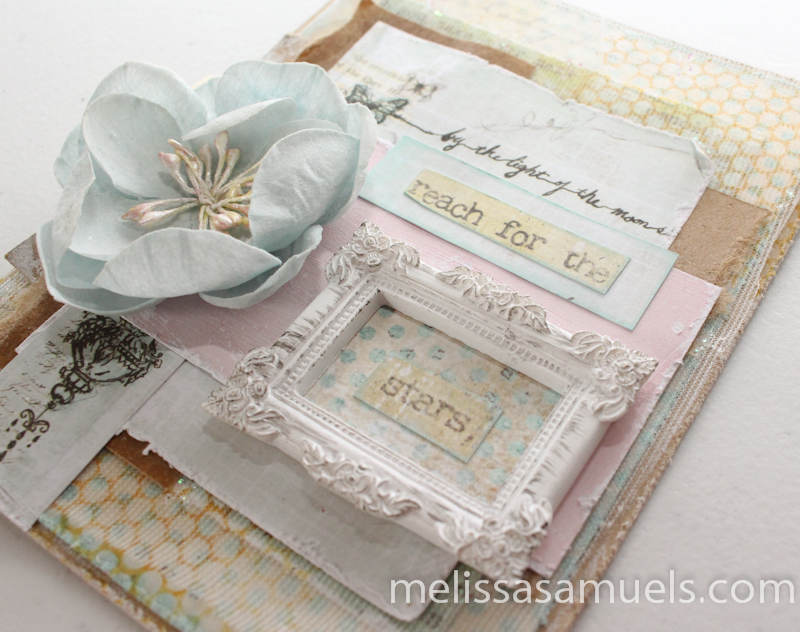
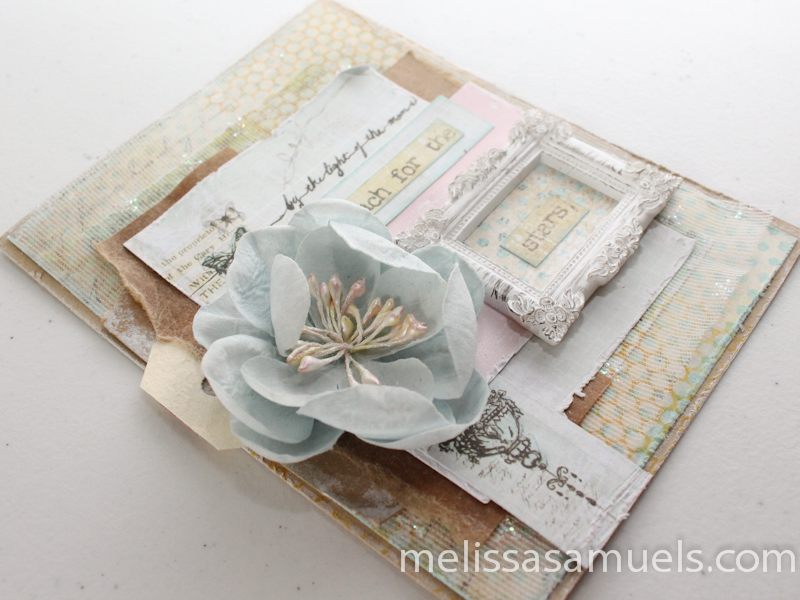
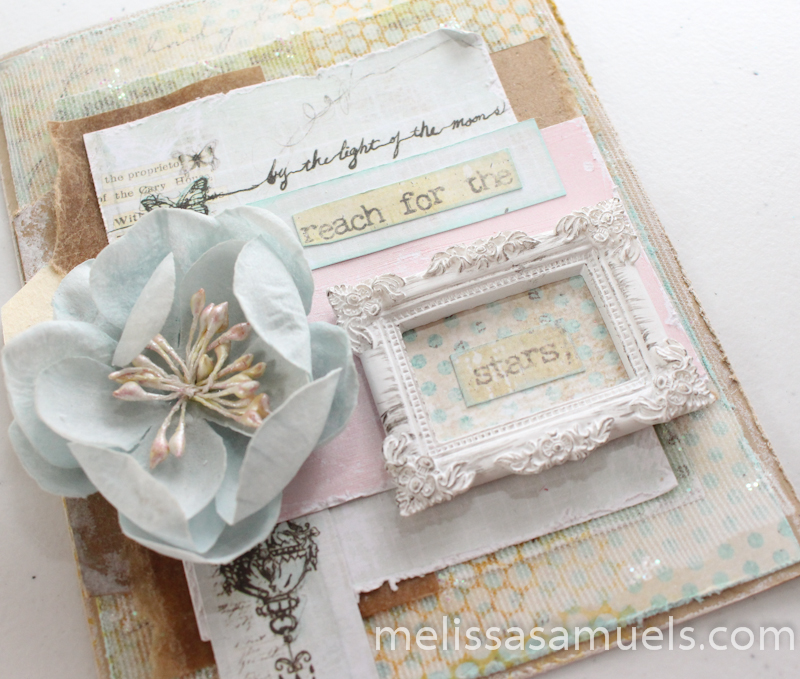
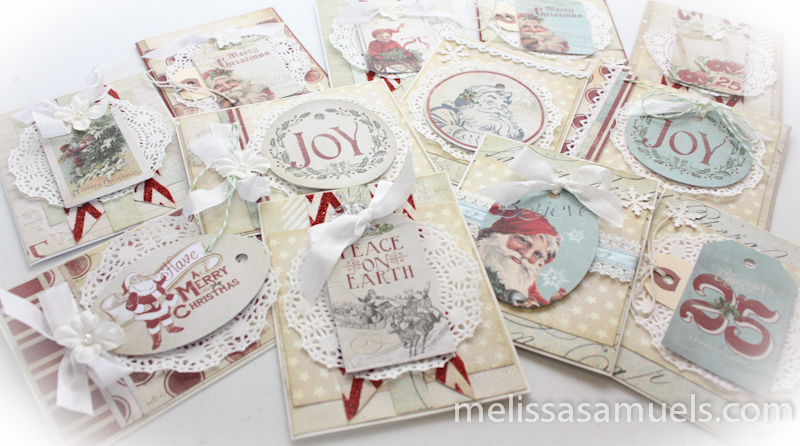
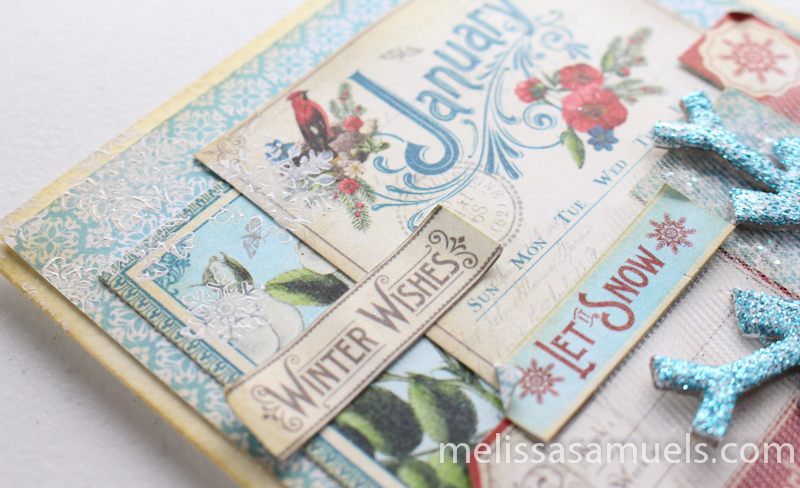
Now that you are awake again, here is a little something fun. I bought a Graphic 45 Time to Flourish 8×8 paper pad (from my store of course) about a month ago, and it has been sitting on my desk begging me to use it. Since 8×8 is always a great size for cardmaking, and cards are quick and easy, I decided to make monthly cards! So I don’t get ahead of myself, let me explain this collection if you are unfamiliar. The paper pad comes with a monthly cutout sheet, and a coordinating pattern double-sided sheet. They also made a 8×8 calendar pad this year (which I did not use in this project). This was a follow-up to their Place In Time collection last year. My goal is to make a card for every month. I realized I needed to get cracking since it is almost the end of the month. So, here is my card for January.
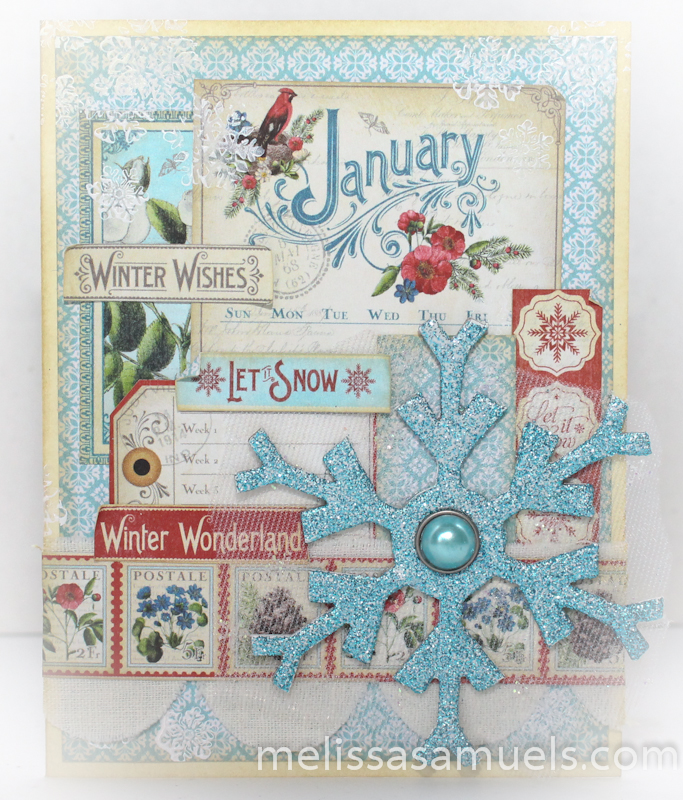
 If you look closely, I stamped snowflakes randomly along the first few layers of my card using acrylic paint. I brushed the paint onto my stamp, and stamped directly onto the paper. If I were using a palette for my paint I would have to stamp off first onto scrap paper. For cleanup, be sure to wash your brush and stamp before the paint dries.
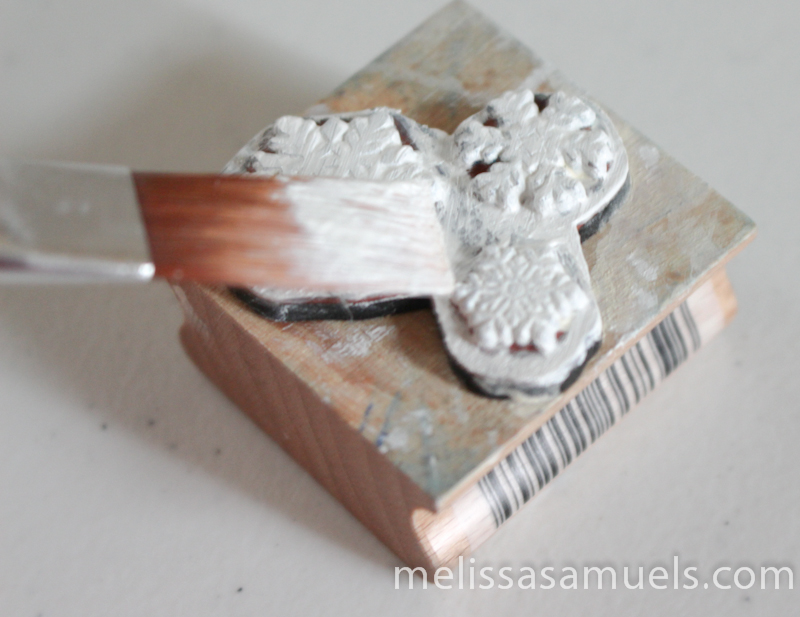
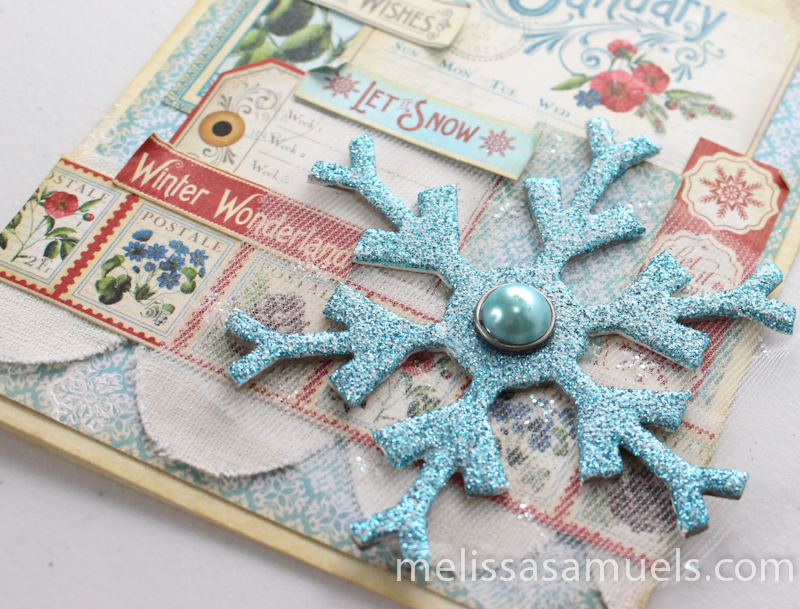 I glittered a chipboard snowflake to use as a focal point by priming it with white gesso, stamping it with clear embossing ink, sprinkling it with blue embossing glitter, and heating to set. I added a pearl brad to the center. It maybe hard to see, but I had this fabulous netting I layered under the snowflake that has little glittery stars on it. Adorable!
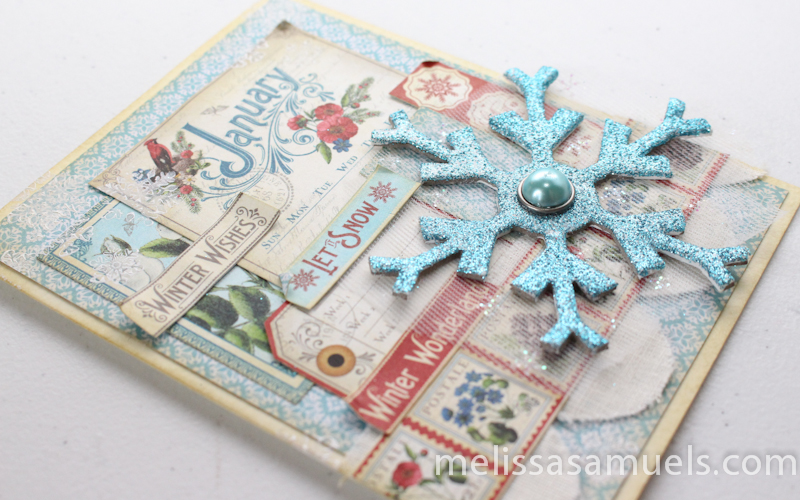 I hope you enjoyed this card, and I look forward to making one each month from this collection. One of the greatest things about the card is aside from the base cardstock, snowflake with brad, ribbon, and netting, I only used one sheet of 8×8 paper!!!! The magic of Graphic 45 cutout pages.
Be sure to come back next week for an entire week of cards!!!!!!! Thanks for stopping by, and have a crafty weekend!!

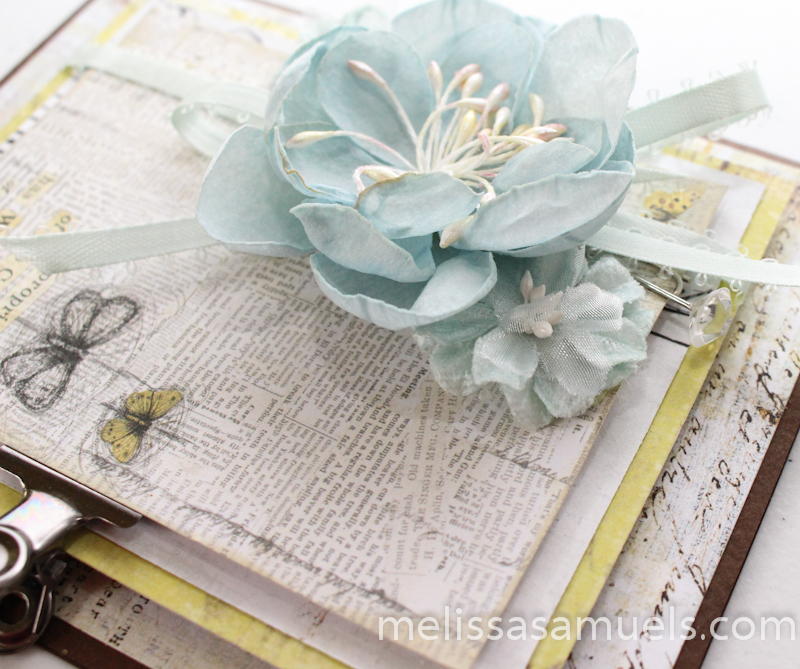
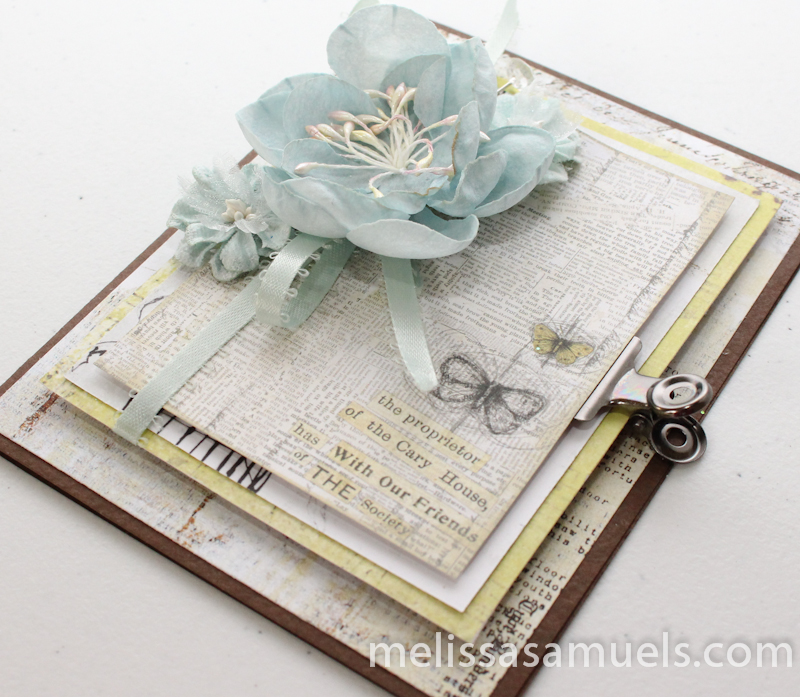
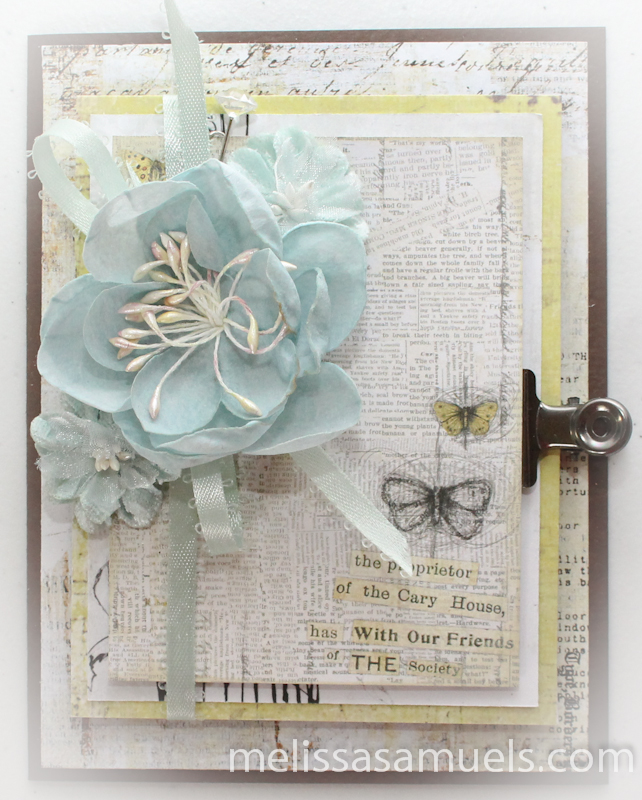 I cut rectangles slightly smaller in size than the previous layer, then pop dotted them together. I added a ribbon before adhering it to the base of the card. I had a paperclip with a crystal on it and pretty blue Prima flowers that I added to the bow. I thought it would be neat to add a clip to the side of the card. It is usually an item I would use on mini albums, but why not?!
 Thanks for stopping by, and hanging with me for the week. See you tomorrow!!